
Note:
1) Before using the printer with your computer, you will need to install our driver software on your computer.
2) Ensure the printer is ON, and the label paper was loaded properly and positioned at tear-off line.
3) Ensure the Bluetooth is enabled on your computer.
Step1: Connect the Bluetooth Dongle
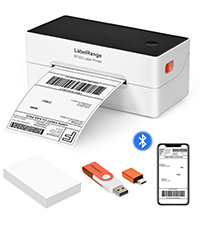
Plug the mini Bluetooth dongle into your computer's USB port>> once both the printer's Bluetooth indicator light and the dongle's light turn solid blue, the Bluetooth pairing is successful.
Note:
1) If can't pair with Bluetooth, please move the printer close to the Bluetooth dongle, restart the printer and reconnect the Bluetooth dongle.
2)If your computer only has type-c port, connect the type-c adapter with the mini Bluetooth dongle first, make sure the side of blue light is facing up, then plug it into computer's type-c port.
3) The Bluetooth indicator light may not be that noticeable, so please come closer to check.
4) Please keep this mini Bluetooth dongle in a safe place and always plug it into your Mac for wireless Bluetooth printing. Without it, the Bluetooth connection won't work, and you'll need to use wired usb cable.
Step 2:Download the Driver for Linux
Please visit www.labelrange.com>> DOWNLOAD>> find "RD560LabelRangePrinterLinuxDriverSoftware" and download it to your computer.
Step 3:Driver Installation for Linux
Note:
1) Please always download the latest Linux software from our website for the best results.
2) If our Linux driver is not compatible with your system, please contact customer support. Thank you.

 BT320 BLUETOOTH LABEL PRINTER
  BT620 BLUETOOTH LABEL PRINTER
  RD560 BLUETOOTH LABEL PRINTER
  LP320 LABEL PRINTER
 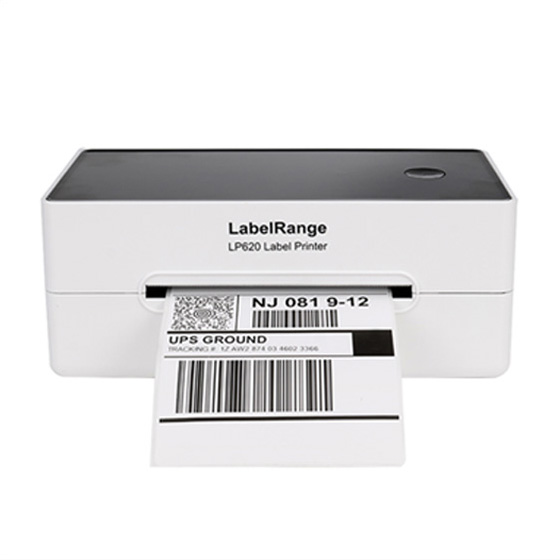 LP620 LABEL PRINTER
 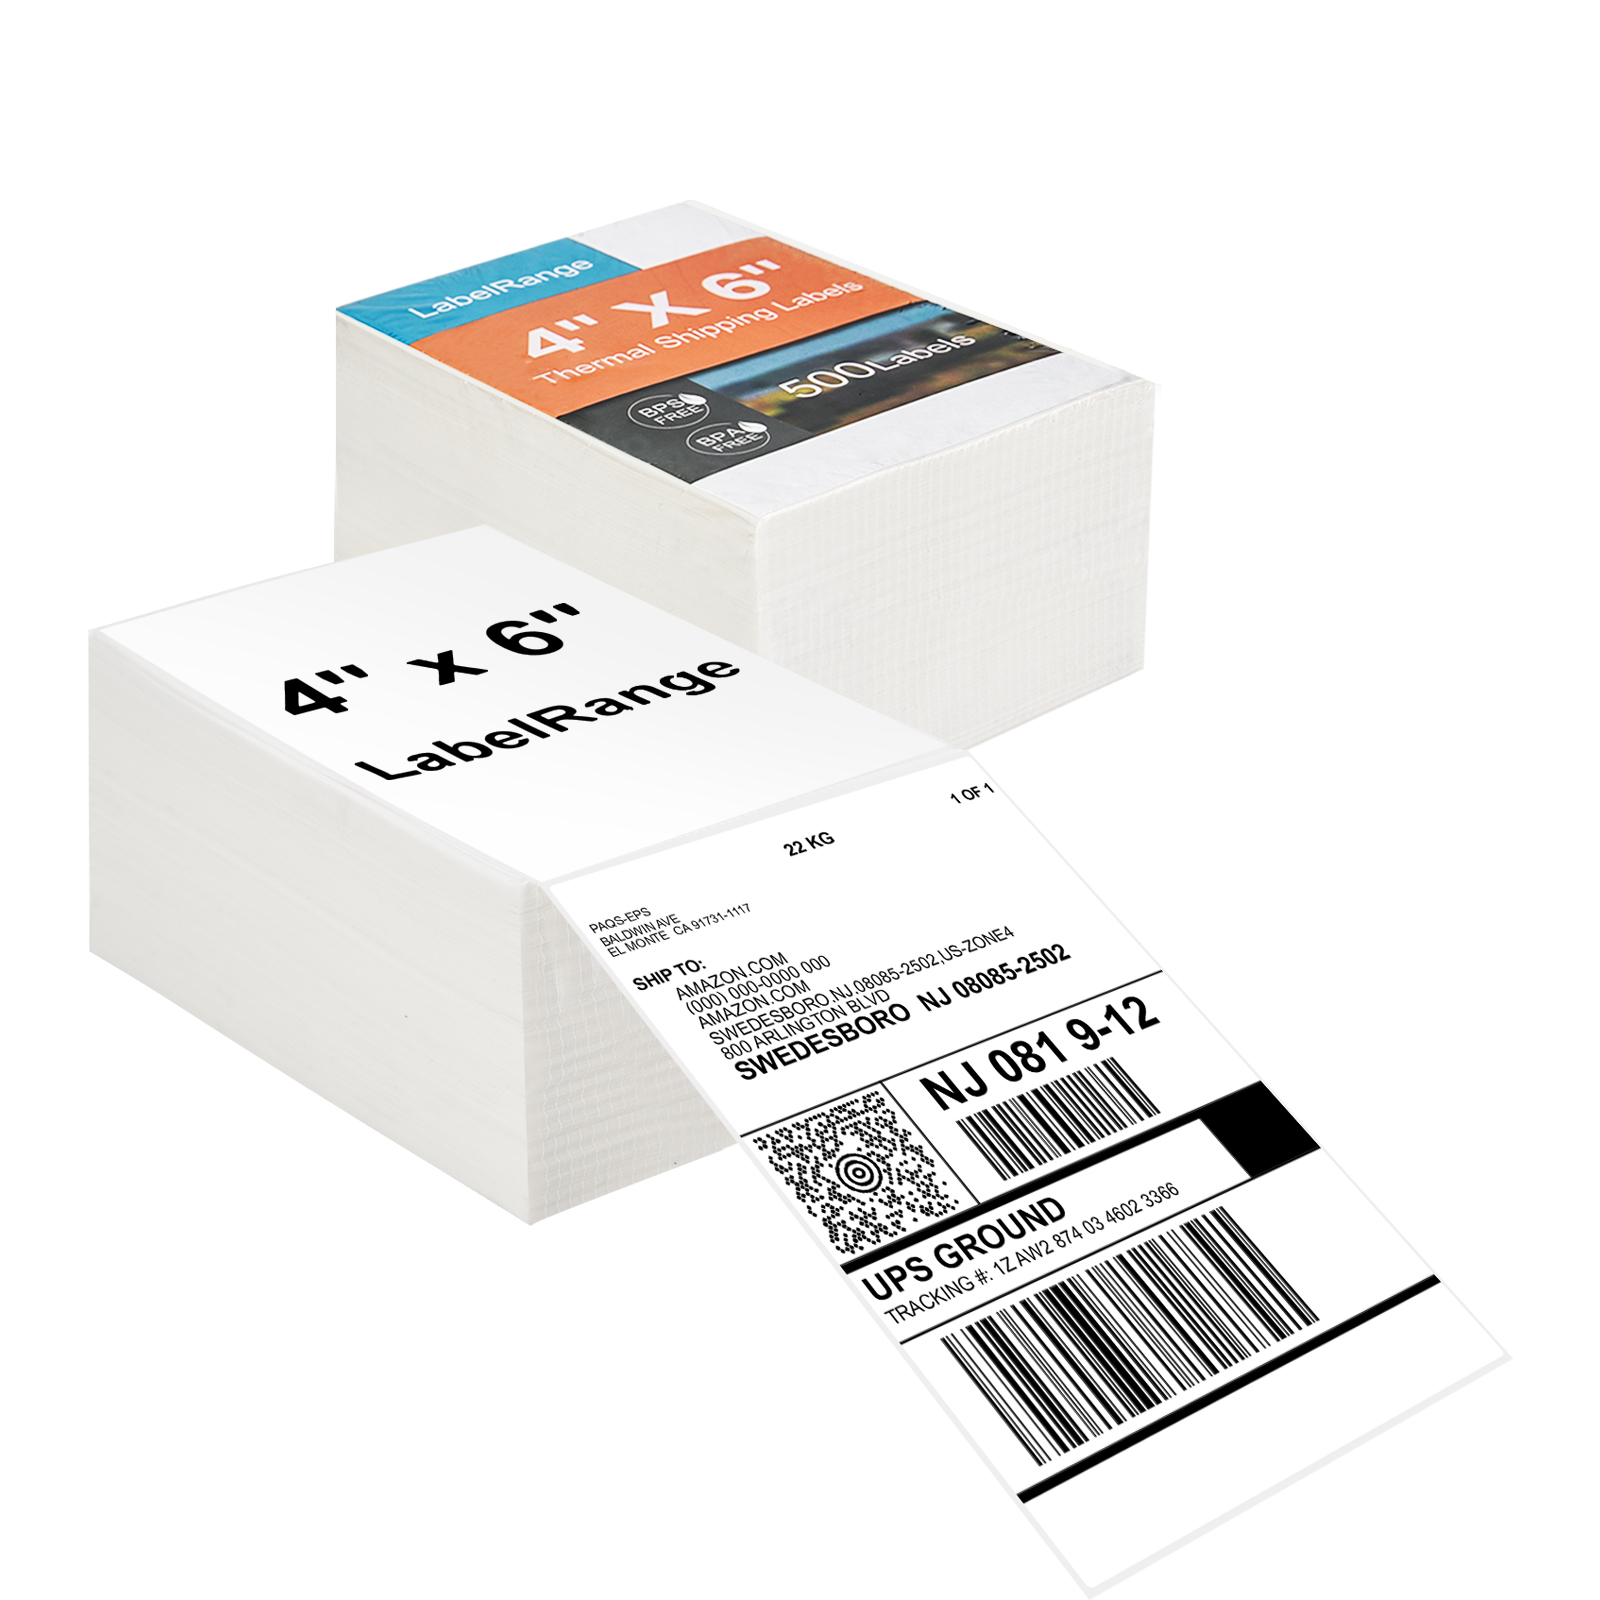 TSL001 4x6 Thermal Labels
  TSL002 4X6 Thermal Label
 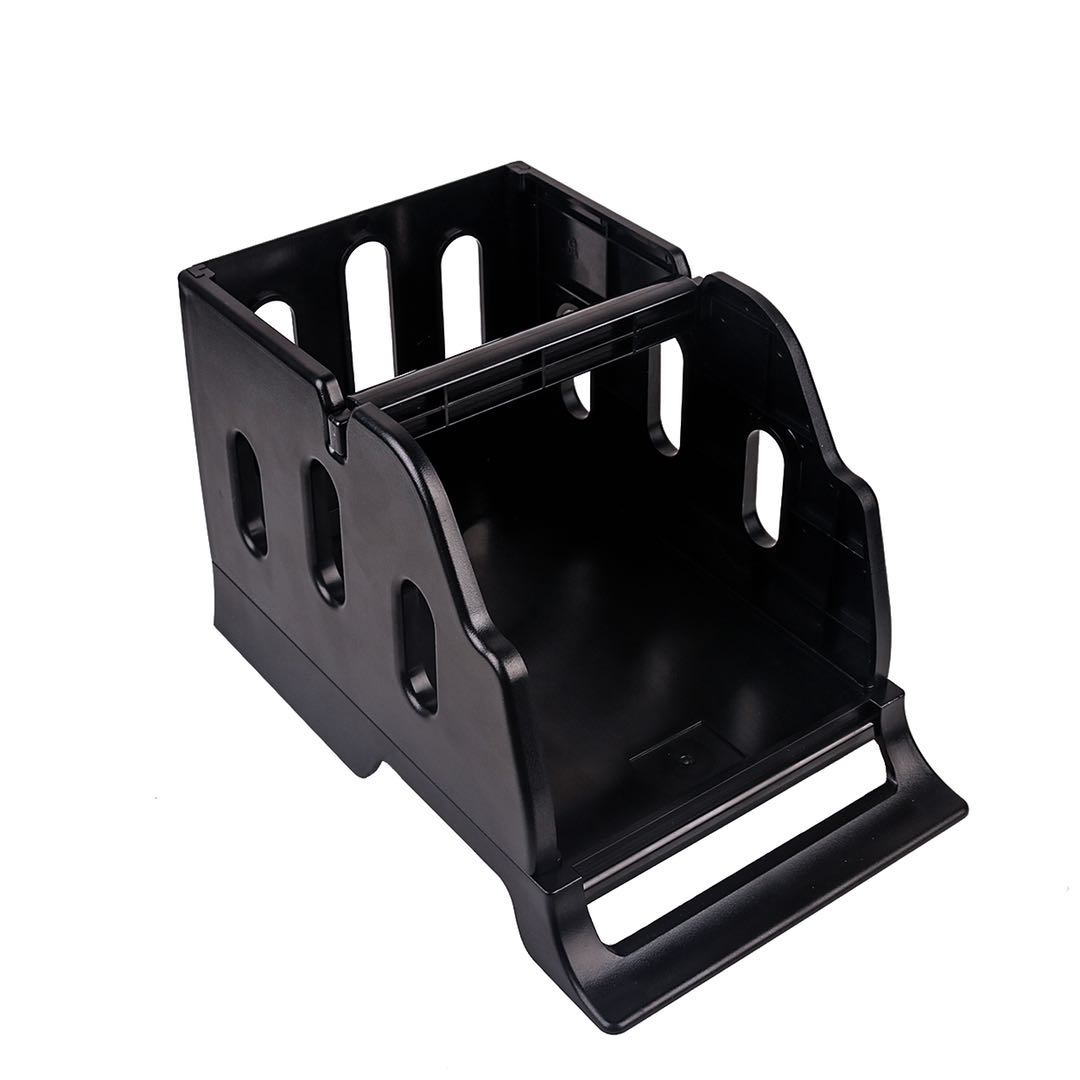 LH001 LABEL HOLDER
 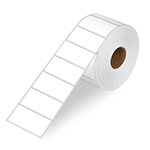 LR21 2X1 Thermal Label
  LR22 2X2 Thermal Label