
Please check the installation video on YouTube for reference:
Please follow the steps below to install your LP320 Printer or BT320 Printer on your Chromebook
1).
Ensure the printer is OFF.
Plug the power cord into the power adapter. Plug the power adapter into the power interface on the back of the printer. Plug the other end of the power cord into a power outlet.
Connect the USB cable to your printer and plug the other end into your computer's USB port.
2).
Press release button on both sides to open the printer cover. Load your labels from back and ensure the paper guides are flush against the label with no gap. Close the cover and turn the power ON (I=ON). The printer will detect the label automatically.
Note: Make sure the labels are properly loaded, with the printing side facing up (towards the ceiling).
3).
Go to Chrome web store - search "Labelrange" extension - click "Labelrange" extension and click "Add to Chrome" - click "Add extension". Click "Labelrange" extension and click "Add", it will show up LP320 Printer or BT320 Printer paired, highlight it and click "connect", then done.
Note: Please ignore the configuration prompt; there is no need to click to configure.
4).
Open your label and print - choose "LabelrangePrinter" as printer and choose paper size from More settings to printing.
For any issues, pls contact Labelrange phone for support, thank you.

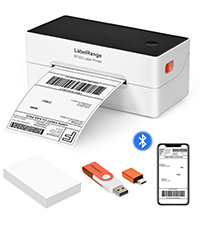 BT320 BLUETOOTH LABEL PRINTER
 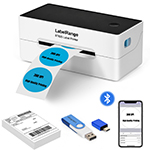 BT620 BLUETOOTH LABEL PRINTER
 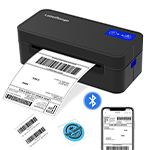 RD560 BLUETOOTH LABEL PRINTER
  LP320 LABEL PRINTER
 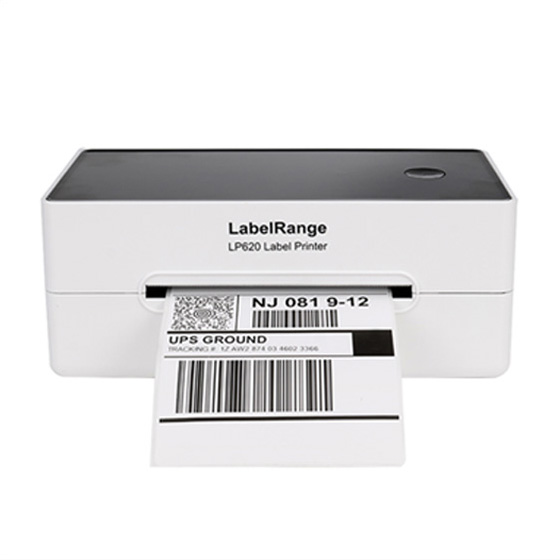 LP620 LABEL PRINTER
 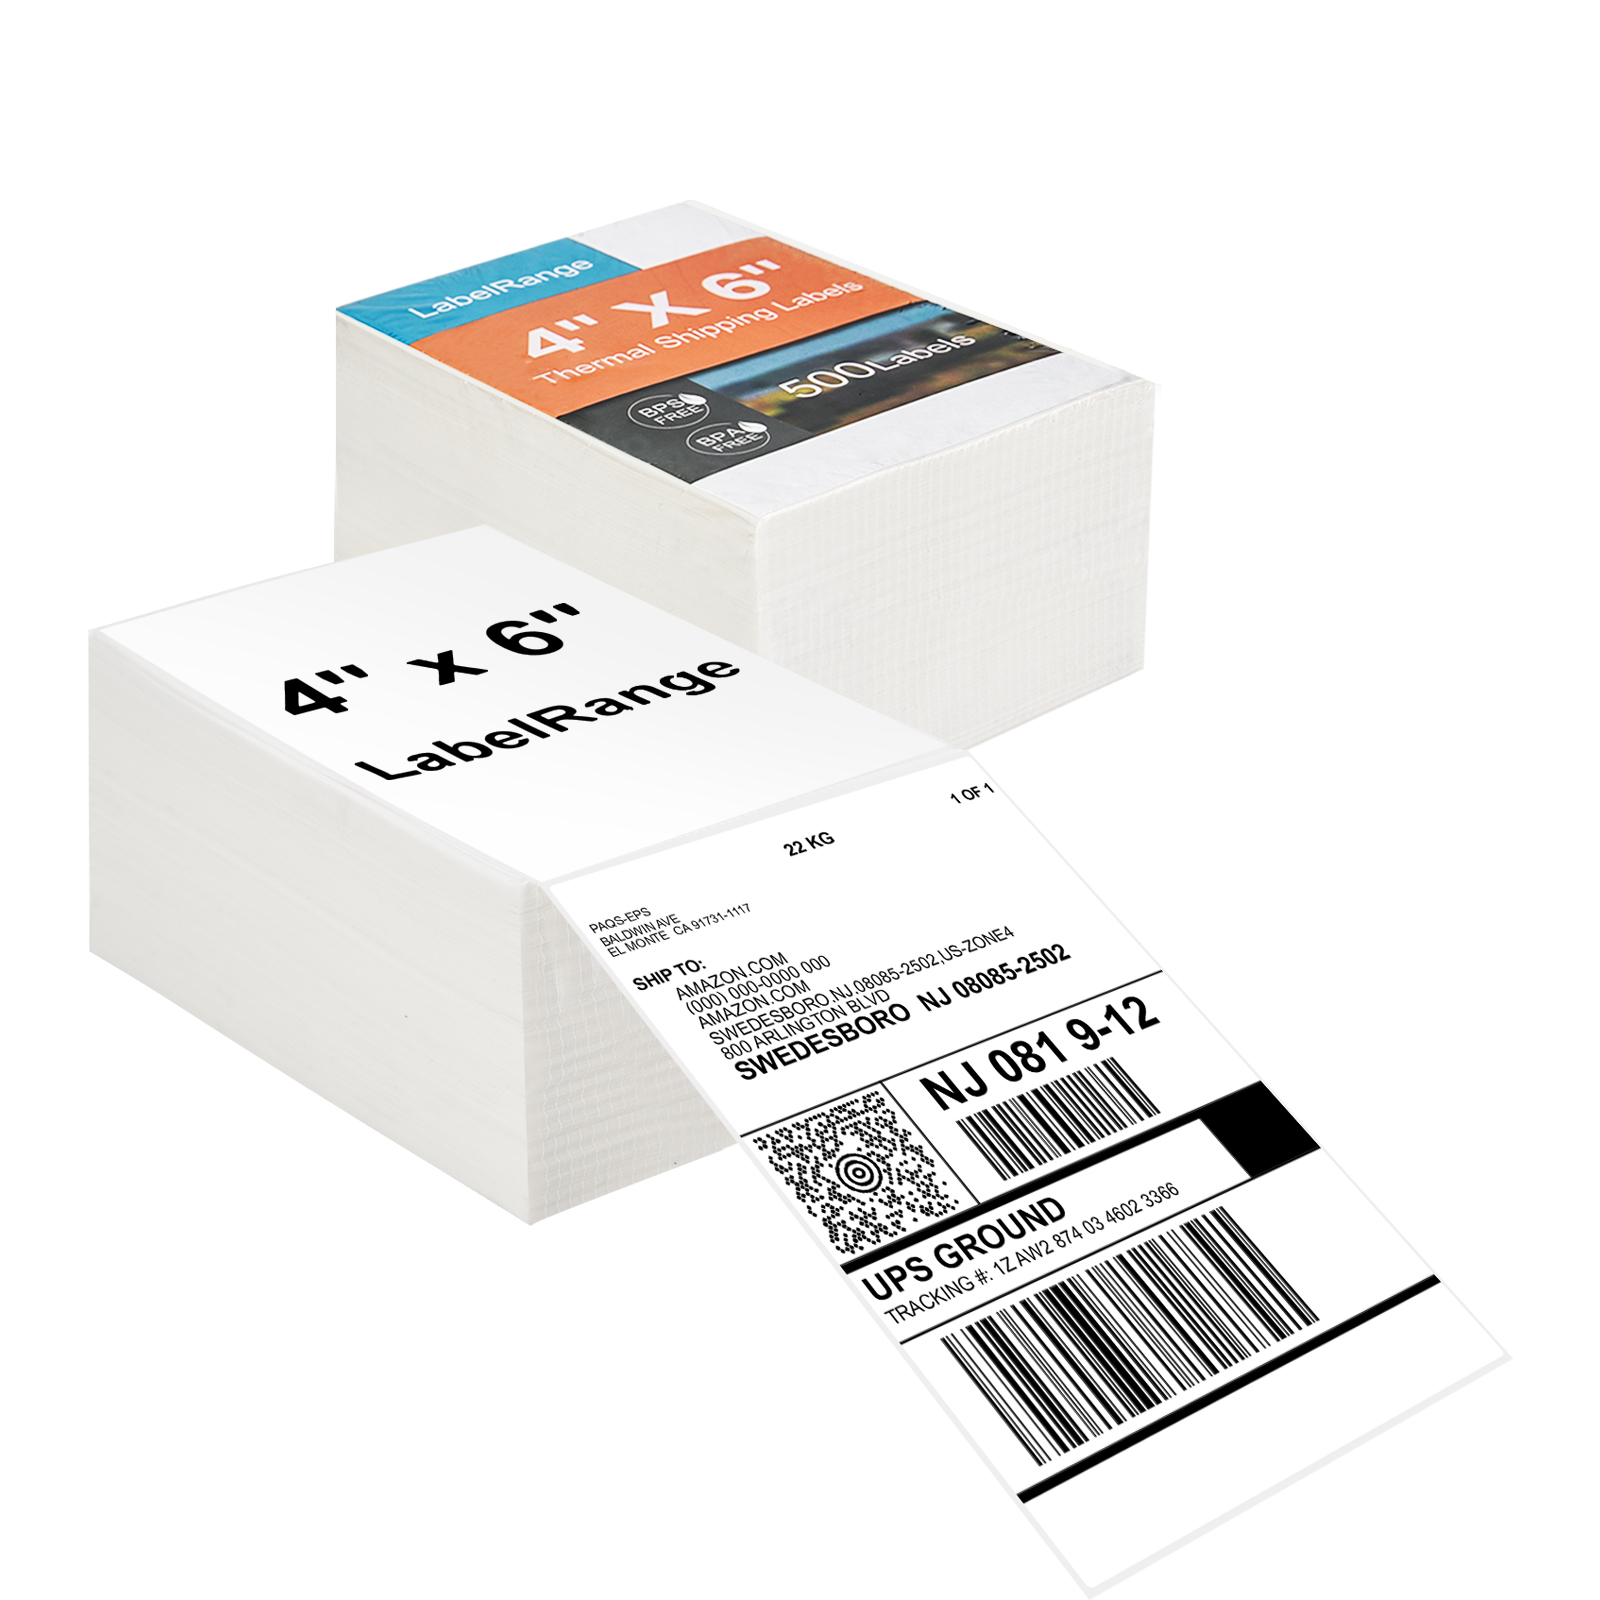 TSL001 4x6 Thermal Labels
 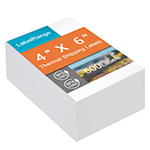 TSL002 4X6 Thermal Label
 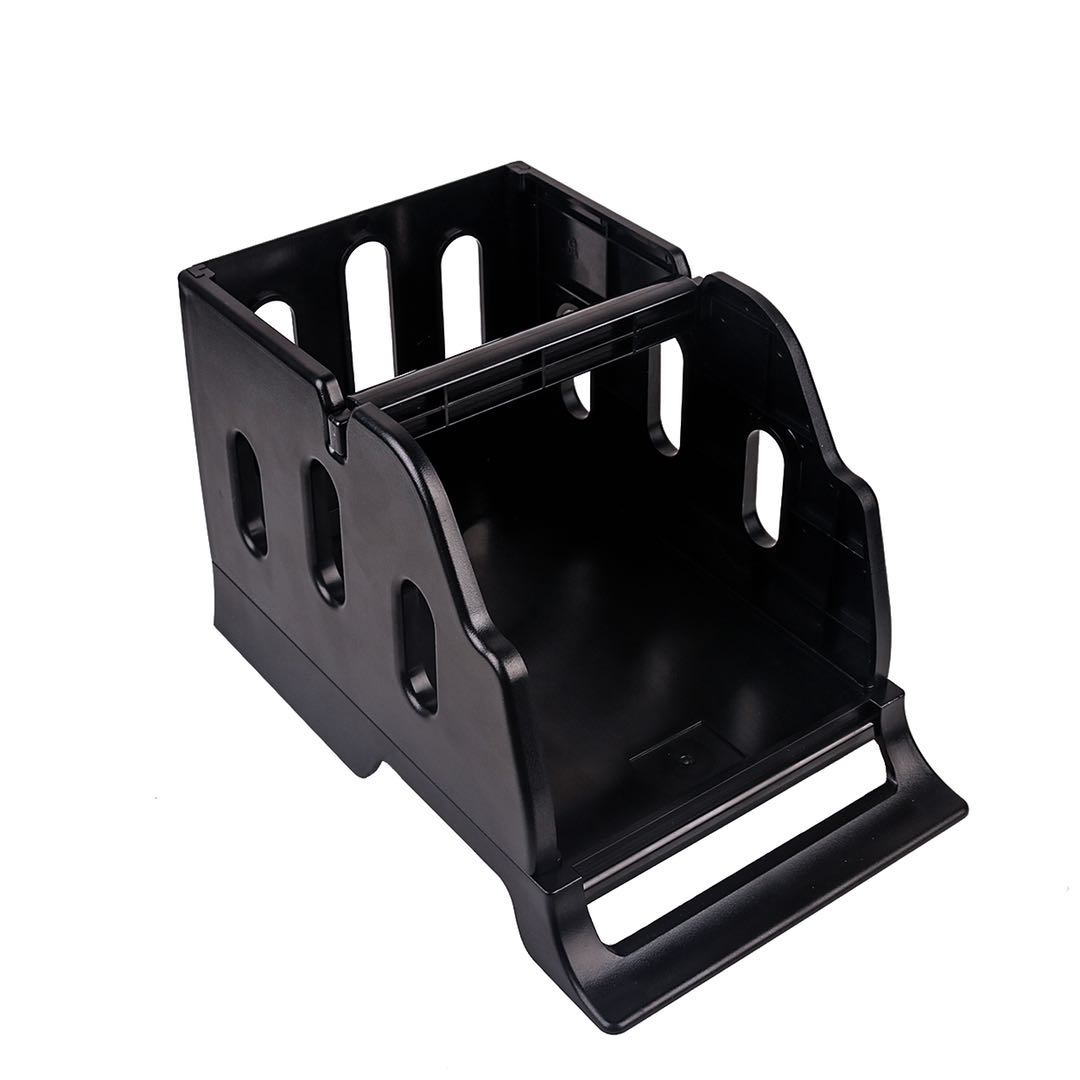 LH001 LABEL HOLDER
 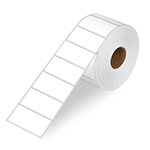 LR21 2X1 Thermal Label
  LR22 2X2 Thermal Label