Step 1: Connect the power cord
Ensure the printer is OFF.
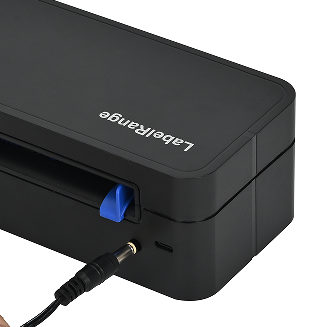
Plug the power cord into the power interface on the back of the printer. Plug the other end of the power cord into a power outlet.

Step 2: Load Labels
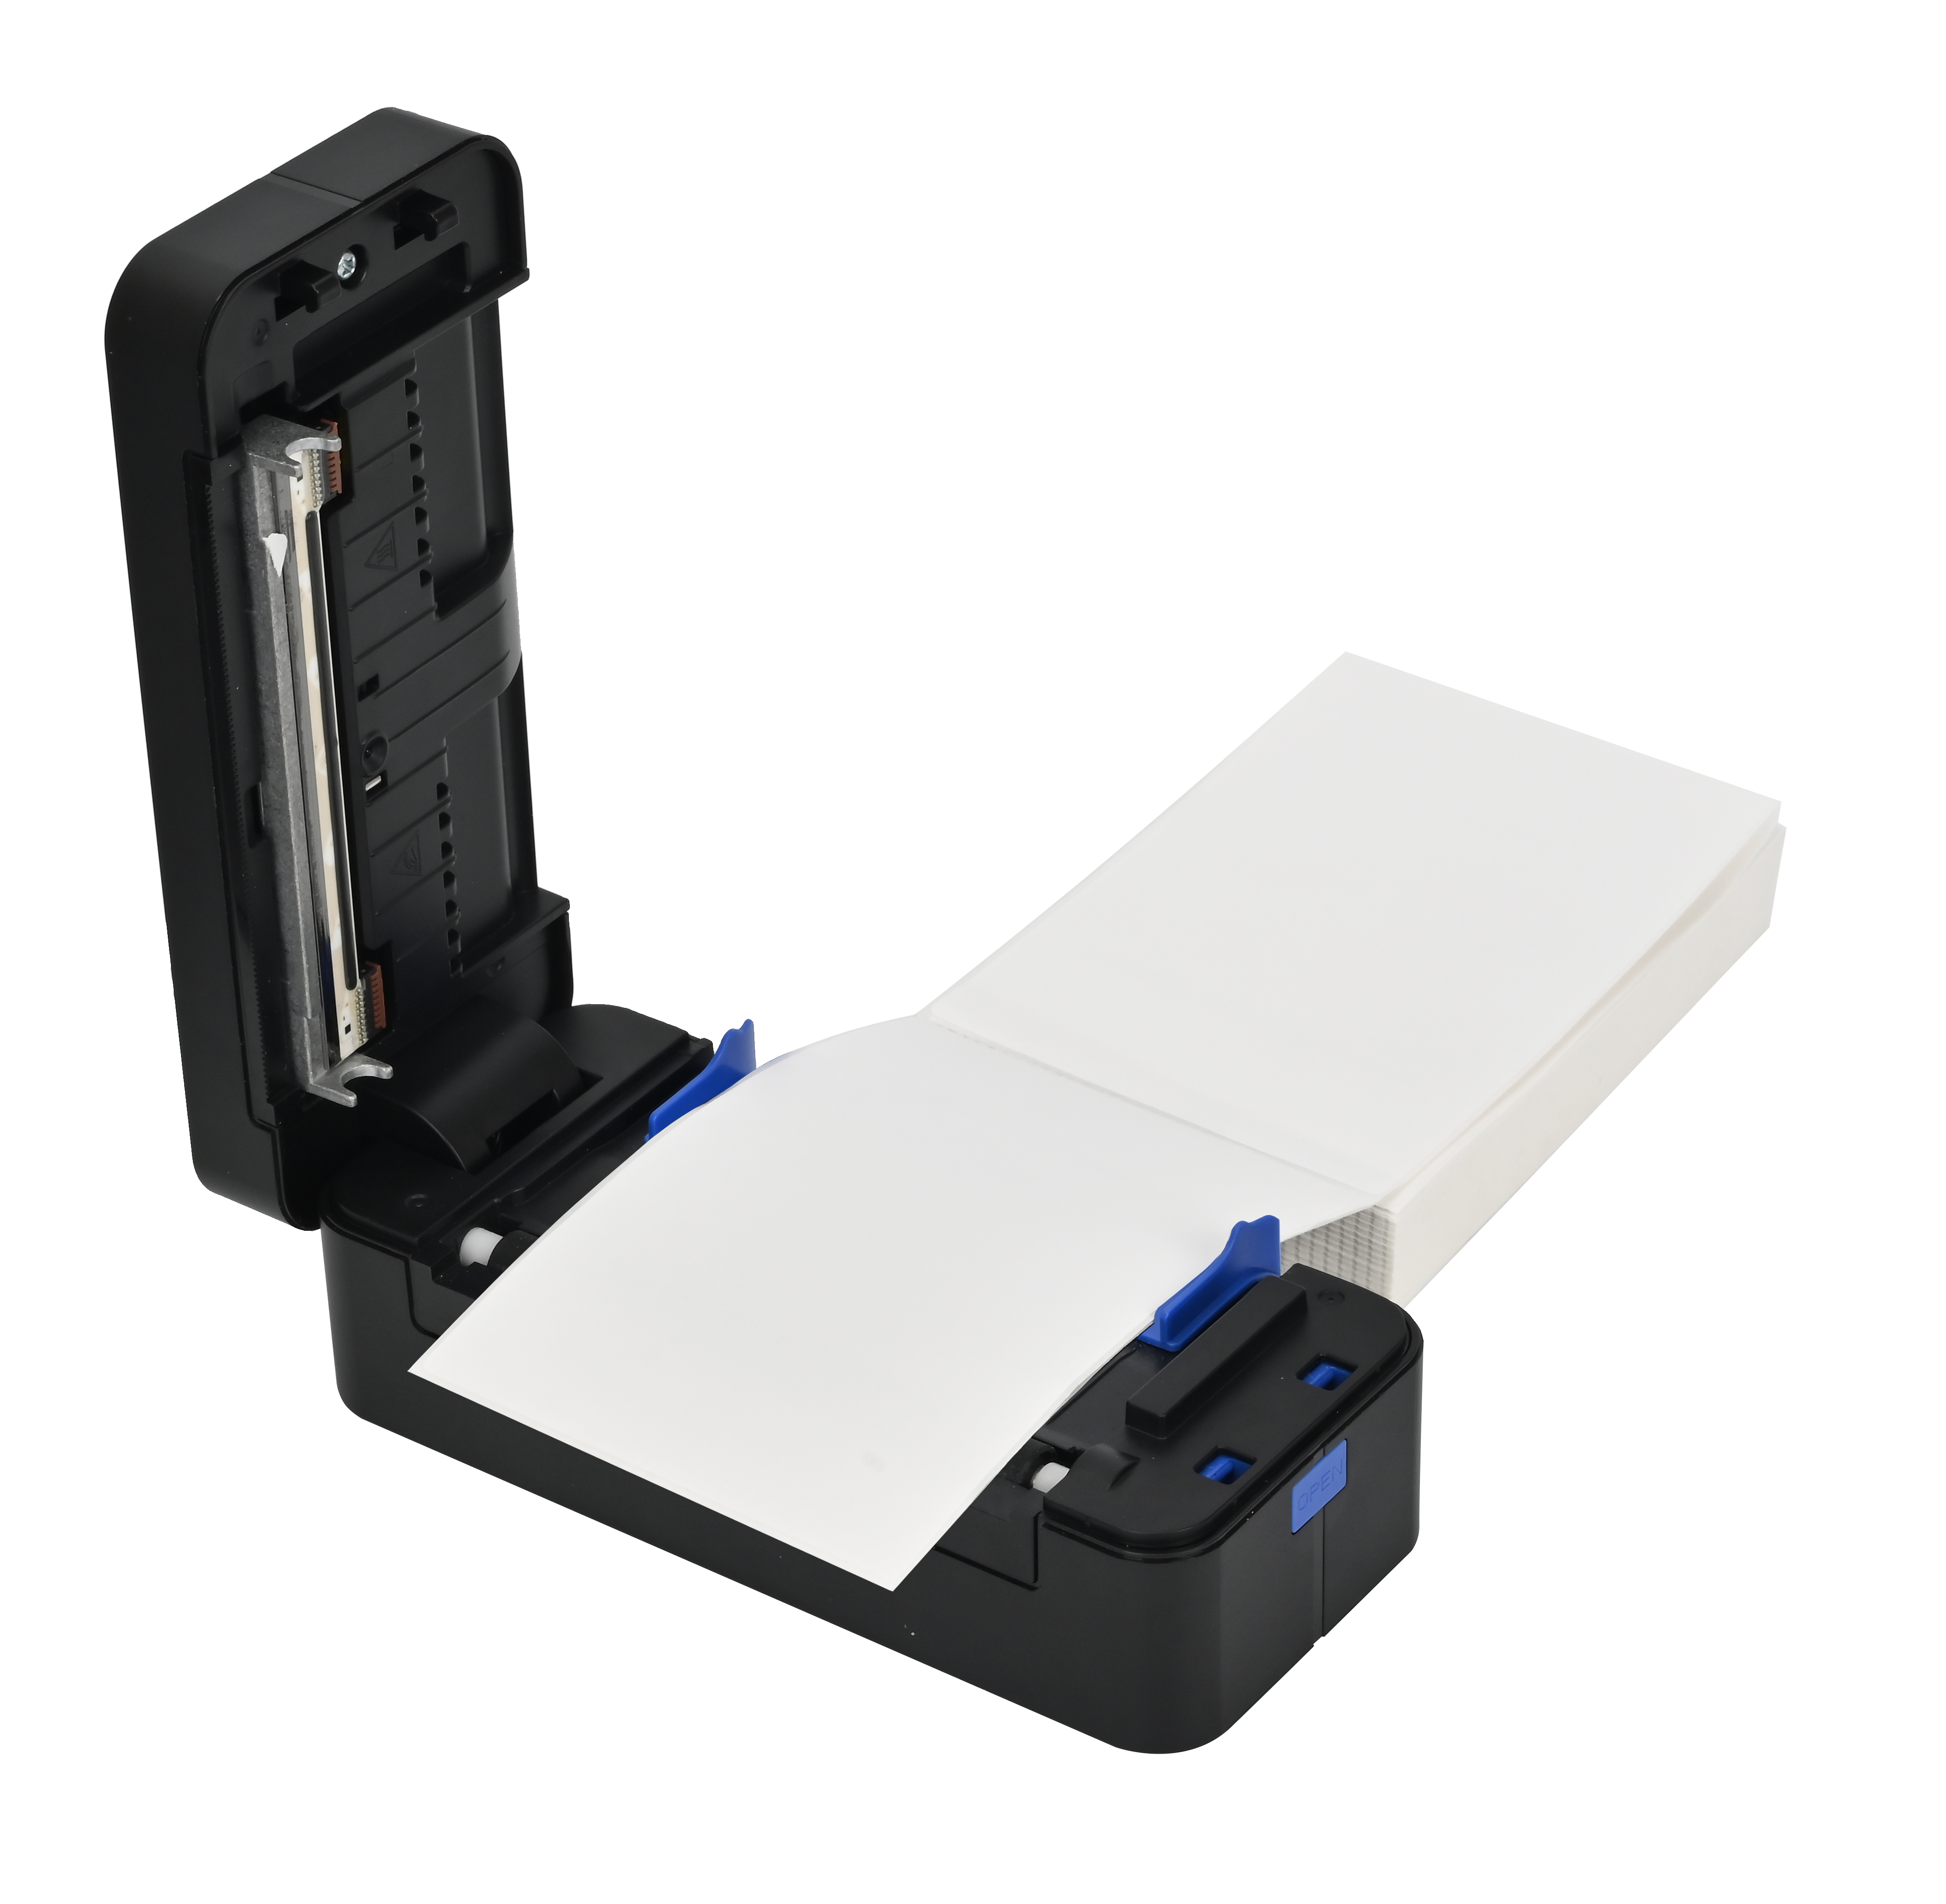
Press release button on the right to open the cover. Load the labels from back and adjust the paper feeder guides to fit the paper width with no gap. Close the cover.

Note:
1) Make sure the labels are properly loaded, with the printing side facing up (towards the ceiling).
2) Ensure that the label paper extends from the printer outlet so that it can be detected.
Tips: You also can load the labels without opening the cover.
1) Adjust the paper feeder guides to fit the label size from the back.
2) Turn on the printer.
3) Insert the label from the back of the printer until it is rolled into the printer.
Step 3: Power On
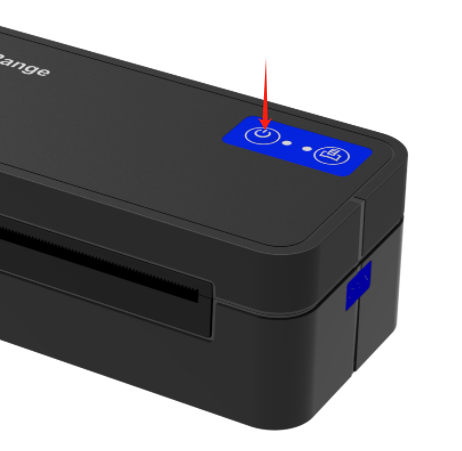
Power on: Press and hold the power button for 3 seconds until hearing a beep, release the button, the power light is green, the printer is on.
Power off: Press and hold the power button for 3 seconds, the power light will turn off and the printer will shut down.

Note:
1) Please turn off the power using the power button. Do not unplug the power cord or plug first.
2) Wait for a certain time (≧5S) when turning on the power again after the power is turned off.
Step 4: Detect Labels
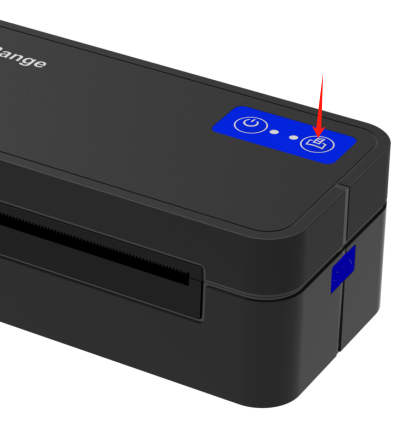
Press and hold the right feeder button until a beep, release the button. The printer will detect the labels automatically and position the label at the tear-off line.

Note:
1)Please detect labels manually everytime you reload the labels.
2)Normally it will waste two sheets of labels, but you can open the cover and reload the label, it will position on the first sheet.
A video for your references:
https://youtu.be/qYUuKfiuuJY